The seat on the R1200GS is considered to be pretty poor - the Adventure seat even worse. In fact some consider it to be some sort of conspiracy against whiny BMW riders by BMW designers to punish them for being so picky. Either way most can do about an hour or two before severe pain sets in.
When I measured the Adventure seat it sits at about 18 degrees forward cant - with the pax seat slightly less. This is terrible and not even close to a motocross seat let alone a touring seat. It looks good though (sic)... it is also quite hard and a bit wide at the "toe" of the seat. The rear pax seat is too hard, thin and also slanted. Both are also quite flat - which causes pressure to localised on your "ischium" which means pressure points. Most good touring seats "cradle" your but to provide a more even distribution of weight. Like when you cup your hands around your girlfriends... it just feels better. She and I want to feel better when we ride.
To that end I have undertaken a winter project to modify my seat and the passenger seat.
My Criteria:
1 - Good long distance touring
2 - Look cool
3 - Good off-roadable ie. move around - get up on the front of it etc. slide a bit...
4 - Narrow enough at the front to allow good leg length
5 - Durable
6 - Cost effective
My Tools:
1 - 4 inch, Angle Grinder (Princess Auto - $24.00)
2 - Electric knife (Mom's 20 year old Sears... sort of free)
3 - Glue Sluyter 470 (Hamilton Fibre Glass & Supply Company
My Materials:
1 - Head liner foam - thin
2 - high quality - closed cell seat foam - 2 inch medium weight
3 - Rebond - open cell seat foam - 2 inch heavier weight
(All from Hamilton Fibre Glass & Supply Company)
Vinyl
4 - Carbon texture - marine grade vinyl (PerfectFit)
5 - SlipNot "bumpy" seat vinyl - marine grade (Seattle Fabrics)
6 - Lime - Neon - marine grade vinyl (Seattle Fabrics)
Notes:
1 - buy the best foam you can - it will last longer and avoid mildew and feel better and is marginally more expensive.
2 - use enough glue (I can't say this enough - don't scrimp)
3 - use only marine grade vinyl - nothing else will do. It is designed for the outdoors, pliable in cold and warm weather and is UV stable and won't fade. Again - don't scrimp here as this is the part everyone sees. I used a polyester UV stable thread and my moms old sewing machine did fine.
Before I started:
1 - Made a wooden jig to hold the seat in position - and correct angle - on the bench. (Some will leave it on the bench but it was way too messy for me to subject the bike to that and I needed a bit more flexibility)
2 - Buy the foam and the glue
3 - Take a deep breath
4 - Read this site (DIY Seat)
The hardest thing:
1 - starting - really. I had to let go of the stock seat and just do it. I also knew that if it didn't work out I could always send it to Bill Meyer out west and he would fix it so...
2 - the mess
Summary:
- it was much easier than I thought. Messy but easier and well.... almost done! I just wish I could ride in it as it is still winter here and the bike has some other mods being done or else I would bundle up and give it a ride.
The rest will be in pictures...
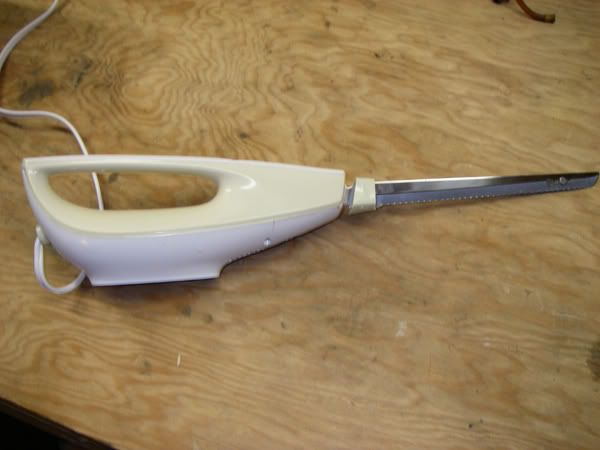
Moms good old Sears electric knife... if she only knew.
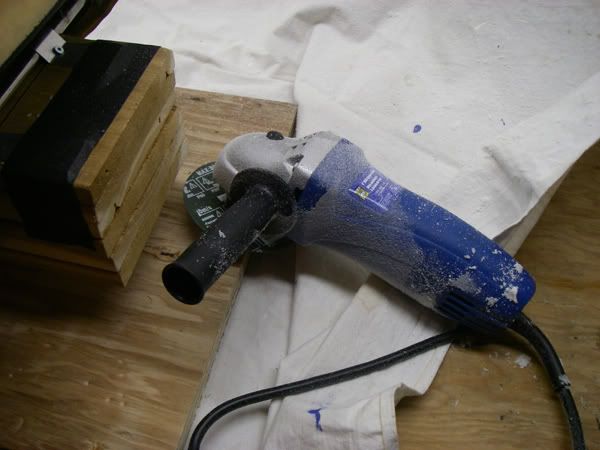
Gotta love Princess Auto... $24.00!!!

Take the staples out one by one... Sit on it and measure it up - take off your pants and mark it up.
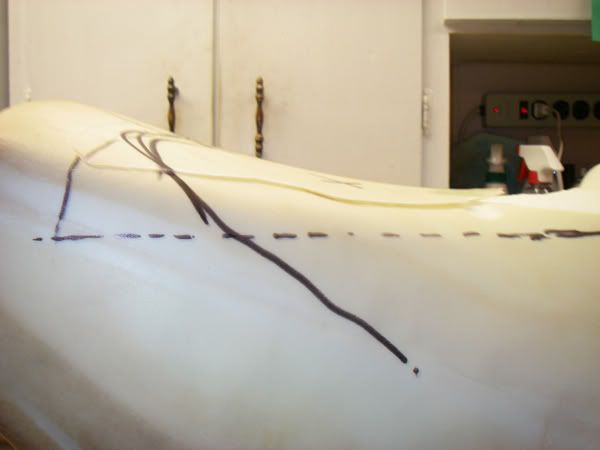

Double Checking to be sure.
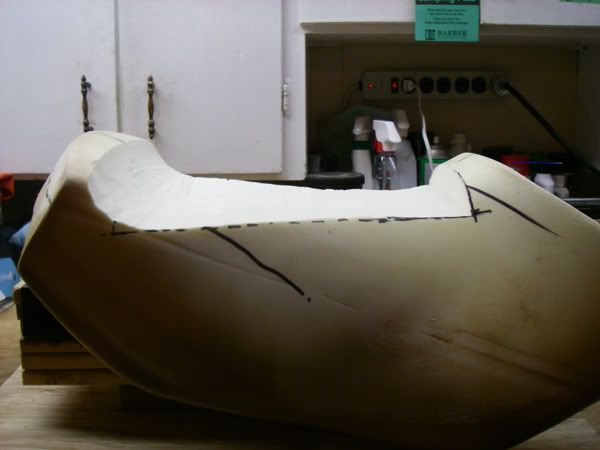
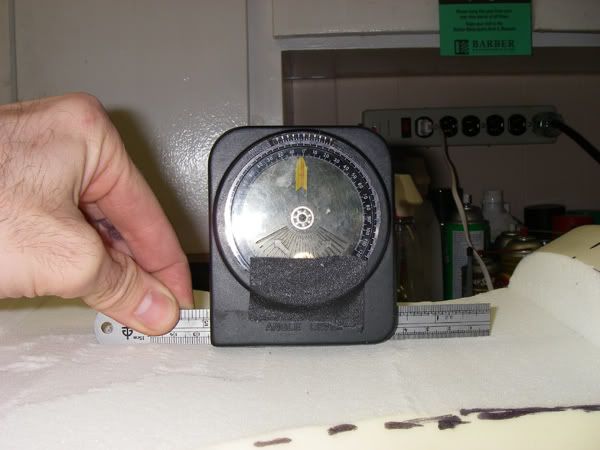
I was going for a 0 degree seat - and measured often... ++ measure often and take your time. It goes pretty quickly.
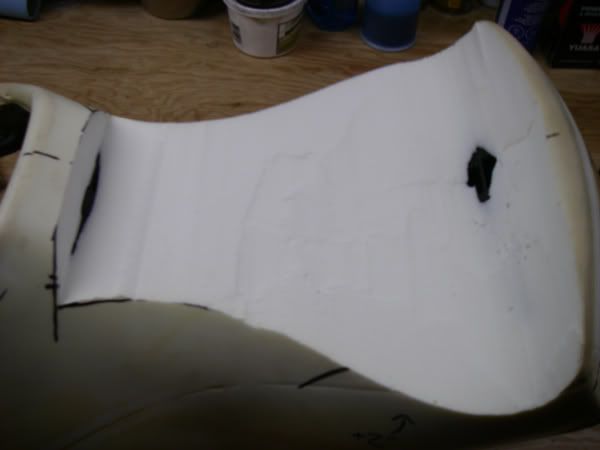
This shows the first main cut with some additional work - this is only knife work so far and NO TURNING BACK now!!!! You can also see where the seat pan is showing through - this is not a problem as you will be putting new foam over the whole thing.
Again the purpose of this is the make sure the foam in the seat and the shape and most importantly the angle offers balanced support.
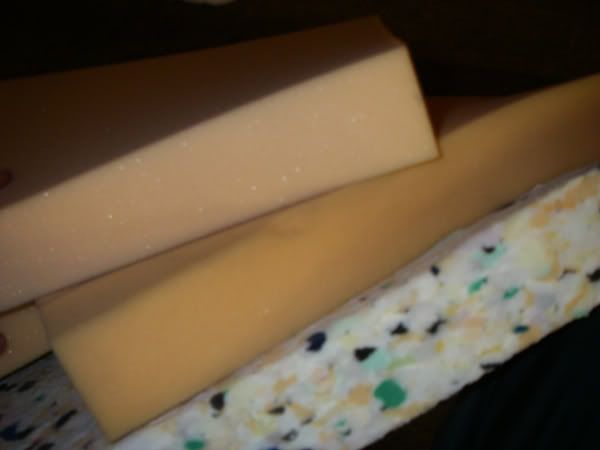
A shot of the foam I used - total cost of the foam for both seats was about $50.00 and that was enough to screw up twice - which I did. You can see the rebond foam which is my base layer and the more expensive and higher quality seat foam - I chose this as it was softer and more "closed cell" to absorb less water.
Klaus - not liking the grinder and the foam bits but helping out nonetheless....
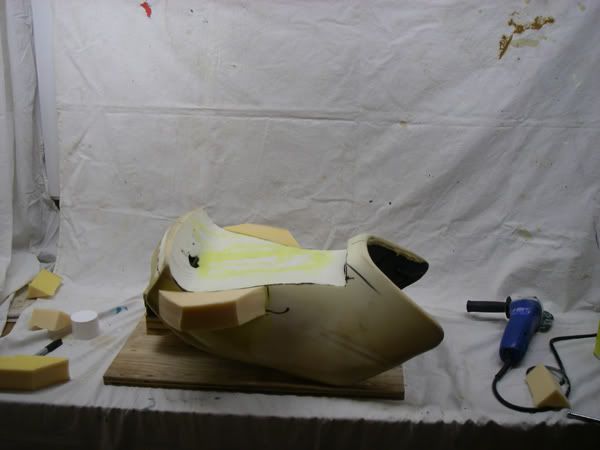
This shot shows my jig and clean-room of sheets... heheh not too clean but made a big difference.
You can see here I am adding side support to make the back of the seat wider to support my butt. I am very thin at 6'2" tall and 155lbs but still found the stock seat to be lacking back here...

You can see the side support - with two layers and I found I needed some more at the back - no problem - just add it. The rough cuts with the knife to get it close.
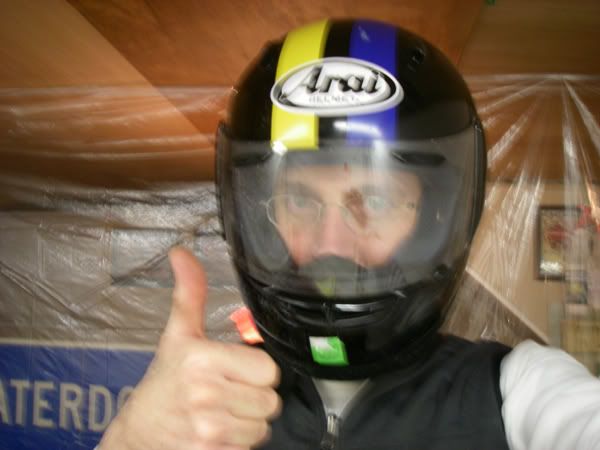
Me - using an old Race helmet to keep the crap out of my eyes and nose. I would suggest a full mask for eyes and mouth etc. but didn't have one. It did work and well it is an Aria...
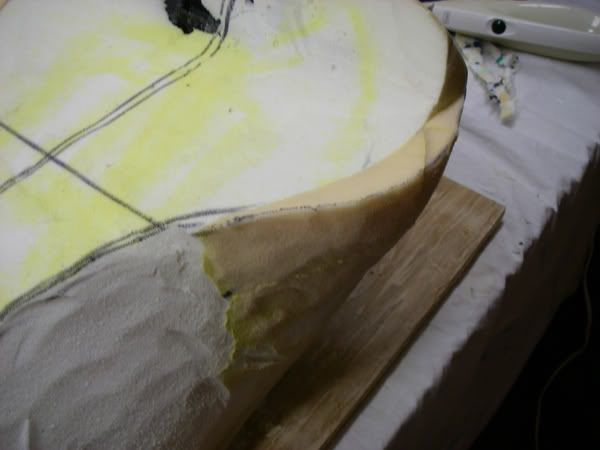
You can see the side support formed and shaped using the angle grinder.
NOTE! on the grinder - use both hands and be careful - use a very high grit and some suggest even dulling that down. Angle it so that the wheel turns away from your stroke. You WILL make some deep cuts and you will have to remind yourself but that is cool you can fix that. But, be careful as you can take a lot of foam off very quickly.
That said - the grinder offered the ability to really sculpt the seat and was worth the $24.00.
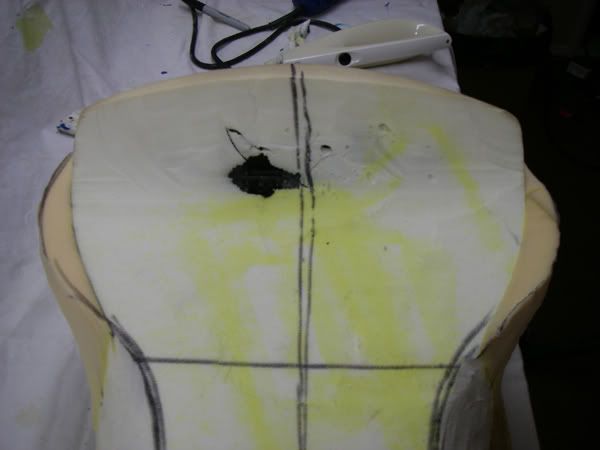
Starting to take shape and I am only doing the side supports. You can see some yellow glue on the seat as I used it sort of like a drop sheet when I was spraying. Also you can see me marking it up and getting creative.
Still rough cuts until I start putting on the base layers.
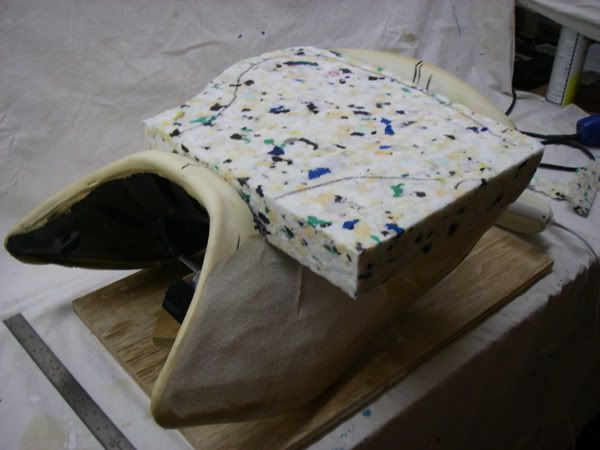
Base layer - glued and ready for the knife.
Don't ask.
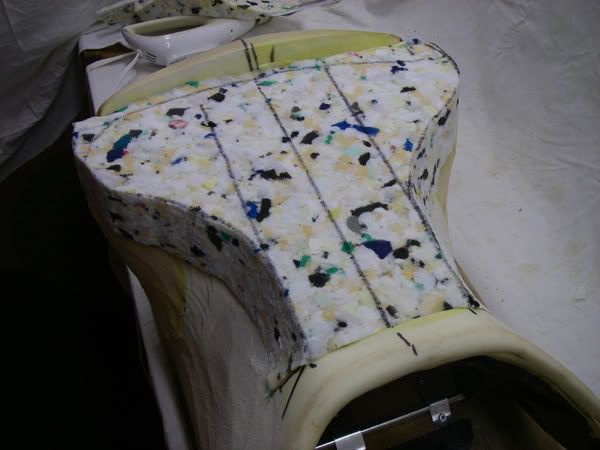
Rough cut and measure - still only knife action on this.
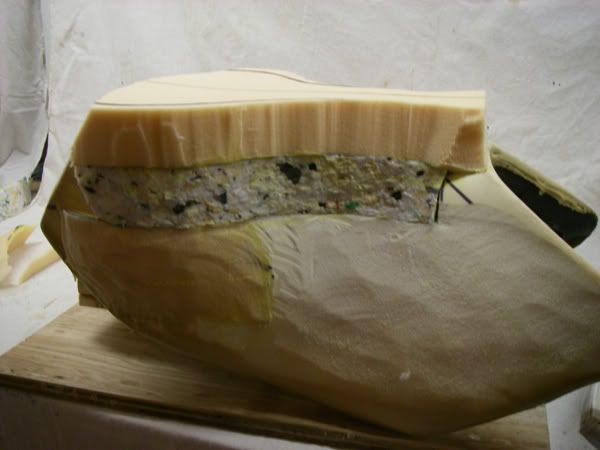
Next piece... knife to fit.
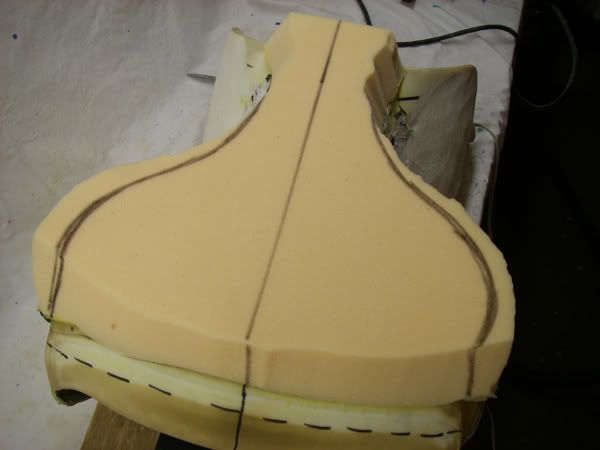
Measure and mark, measure and mark, check the angle again...

Molded and almost ready... but wait.
I set it up numerous times on a can of fuel to check the angles and how it felt - if you do this on your bike you are set.
You can see here that I figure I had cut too much off of the "waist" of the seat and my legs felt the ridge to severely... not a problem. Glue on some more pieces and mold it again.

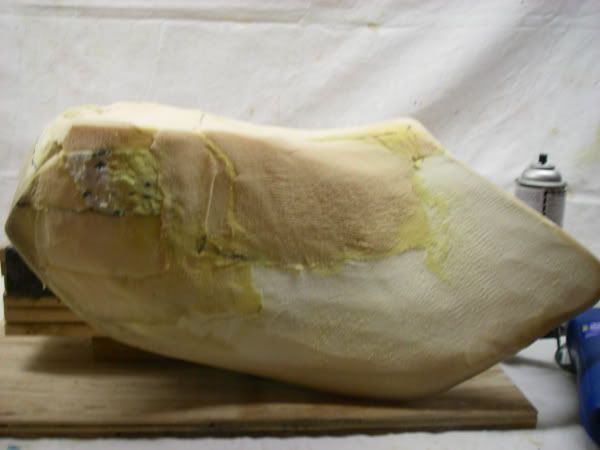
Side view and almost ready for final smoothing of the grinder and thin head liner foam to smooth it all out but... wait. Not so fast.
I put it on the bike - and although my angles were correct it didn't feel right. I had taken a bunch of the medium foam off and the rebond was a bit too "flat" even though the medium foam on top was molded for my butt....
Well - take out the knife and cutt most of it off - not too painful - trust me - it is better to get it right.
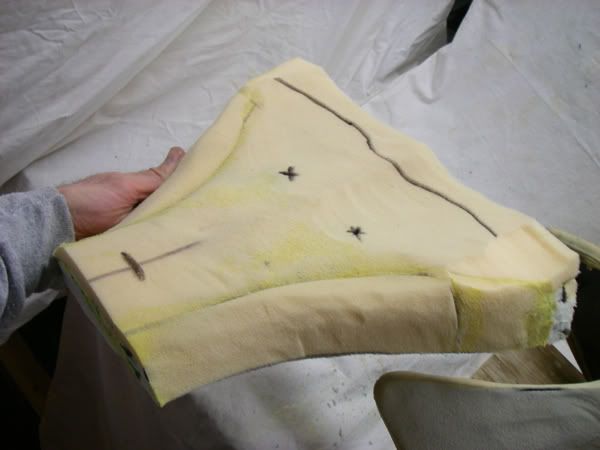
Cut and toss it!
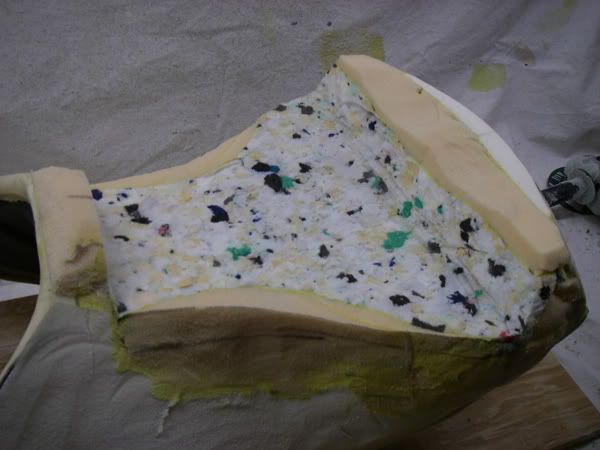
After the cut. I cut into the rebond about half way so I could get a full 2 inches of the nice high quality medium foam.
NOTE: both of these foams was much softer than the BMW stock foam. I am pretty light and don't need a lot of support. It is important to note that when you get close to the seat pan - most stock seats are actually too soft and you bottom onto the seat pan. I do not have a lot of data but given the fine German propensity for making everything hard (heheh) I think the BMW seat foam is much too hard. IF you are a heavy guy then make sure when you do the mods you have a good few inches of foam on your seat. this shouldn't be a problem if your seat height is good as you will be filling in the depression to make it more horizontal anyway.
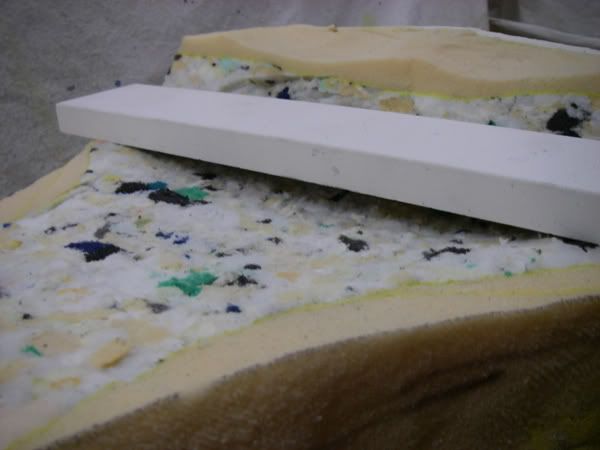
This shows the cupping I ground into the seat also - and remember to measure the angles. As I had to be careful to accommodate how it felt on the bike and I made a new drastic cut that had to be checked.
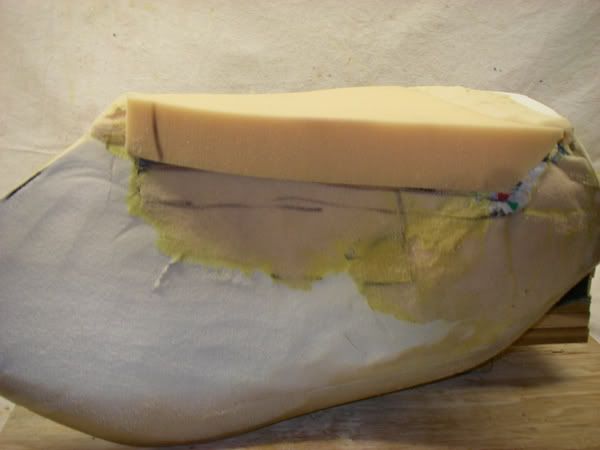
The new piece in - all looks good... feels good... now model it to shape with the grinder and...
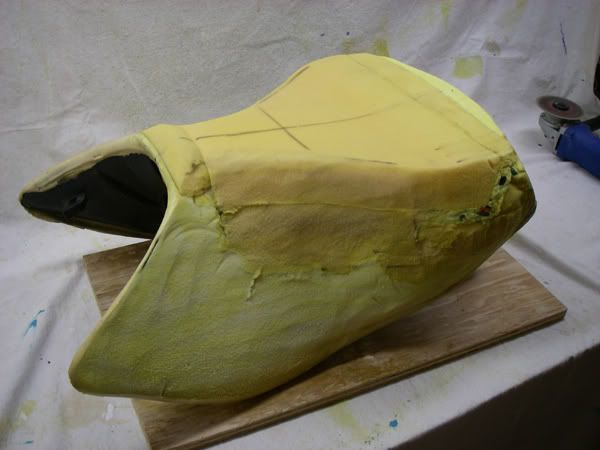
Smoothly ground and formed and glued ready for the thinner headliner foam.

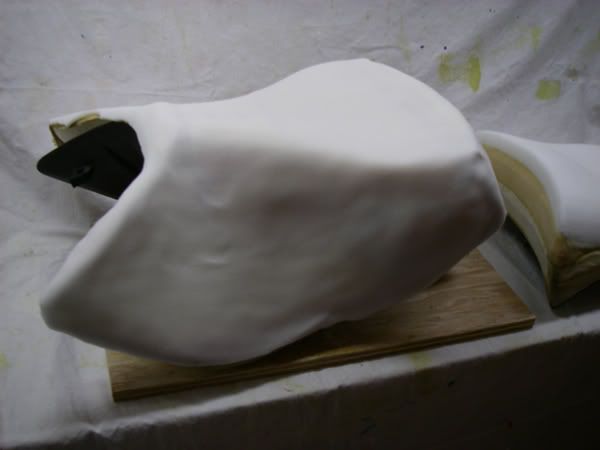
DONE!!! ready for the vinyl. The flash was a bit harsh so the very slight imperfections came out under the last layer of foam. It is much smoother than this - trust me...

Passenger seat done. For this I just put in a 1 inch softer foam for the pax. I didn't need the thinner headliner foam as it was much easier to mold this seat and I had a lot of practice from the front. Again angled and cupped to support the butt...
Next step is the Vinyl and it is in a UPS truck as we speak. I will update as soon as I finish that part.
I will be making a fabric pattern based on my design and the original seat cover. If you don't add too much foam you can just use the original or use a big sheet of vinyl. I can sew and have the equipment so will be making it a bit elaborate.

My artist rendition of what it will look like. The Neon strip at the front - the black will be SlipNot and the gray will be Carbon textured vinyl with the back panel being black Carbon vinyl. I will do the same to the pax seat but only Neon at the far back.
...Good luck and as soon as I have anything else I will share...

No comments:
Post a Comment